The 10-Minute Trick to Save Wilted Greens (and Keep Them Crisp Longer)
Your spinach went sad again? Learn the quick ice-water refresh, why it works, and simple storage tweaks to keep greens crisp for days.
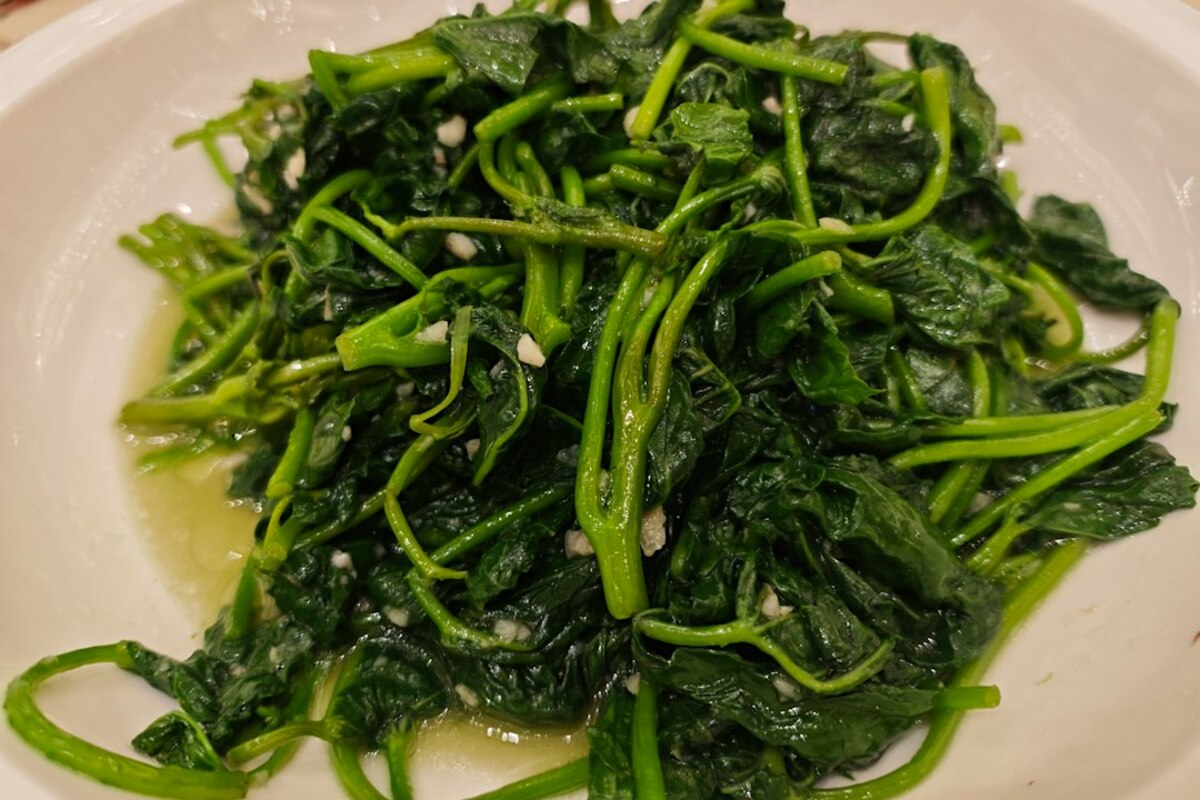
- An ice-water soak can revive many leafy greens in 10 minutes by restoring moisture and pressure inside the leaves.
- Drying greens well is the difference between “crisp for days” and “slimy by tomorrow.”
- A paper-towel-and-container setup controls moisture better than most produce bags.
Why leafy greens go limp so fast (and why cold water helps)
You open the fridge, pull out a bag of spinach, and it looks like it gave up on life overnight. Lettuce leaves fold in on themselves. Herbs droop like they’re exhausted. It’s annoying because the greens aren’t necessarily “bad”—they’re just wilted.
Most wilting is a water-and-pressure problem, not a spoilage problem. Leafy greens stay perky because their cells are filled with water, which creates internal pressure (think of a firm grape versus a raisin). When greens lose water to the air (or to a dry fridge), that pressure drops and the leaves soften and collapse.
Cold water can often reverse that—at least temporarily—because leaves can absorb water back into their tissues. The cold part matters too: crisp greens feel crisp partly because chilled plant tissues are firmer, and cold water slows down the enzymes and microbes that accelerate decline.
Imagine a balloon that’s slightly under-inflated. It isn’t popped; it’s just floppy. Adding air brings it back. For greens, water is the “air.”
When this trick works best: spinach, romaine, kale, cilantro, parsley, basil (with care), chard, arugula, and many salad mixes that are just a bit tired.
When it won’t fix things: greens that are slimy, smell sour, have lots of dark mushy spots, or show visible mold. In those cases, the issue is spoilage, not simple dehydration.

The 10-minute revive method (plus the one step most people skip)
This is the simple routine you can use when you want salad tonight but your greens look like they won’t make it. It’s fast, low-effort, and surprisingly dramatic.
- Step 1: Trim and sort. Pick out any leaves that are slimy, blackened, or obviously damaged. If you’re working with lettuce, trim the brown end or any dried edges.
- Step 2: Fill a big bowl with ice water. Cold water is key. Add a handful of ice cubes if your tap water isn’t very cold.
- Step 3: Soak for 5–10 minutes. Submerge the greens and gently swish once or twice. If you’re reviving herbs, keep the stems and leaves together.
- Step 4: Drain—and then dry thoroughly. This is the step that decides whether you’ll enjoy crisp greens or end up with a soggy mess tomorrow. Use a salad spinner if you have one. If you don’t, lay the greens on a clean towel or paper towels and pat dry.
- Step 5: Serve now or store the right way (details below). Revived greens are happiest when eaten soon, but you can often buy another 1–3 days with good storage.
That’s it. The “magic” is simply rehydration plus temperature. The extra “magic” is drying: greens that sit wet in the fridge tend to break down faster because excess surface water encourages sliminess and speeds up decay.
A quick real-life scenario: You planned tacos, but the cilantro looks droopy. Ten minutes in ice water while you warm tortillas and chop onions is usually enough to turn it from “sad garnish” into “restaurant sprinkle.” Dry it well, then chop.
Special note on basil: Basil bruises easily and can darken when it gets too cold. If basil is only slightly wilted, use cool (not ice-cold) water for a quick dip, dry gently, and use soon.
| Green | Ice-water soak time | Best use after reviving | Watch out for |
|---|---|---|---|
| Romaine / leaf lettuce | 10 minutes | Salads, sandwiches | Brown edges: trim first |
| Spinach | 5–10 minutes | Salads, sautéing, smoothies | Slime = toss those leaves |
| Kale | 10 minutes | Salads (massaged), roasting, soups | Very tough stems: remove |
| Cilantro / parsley | 5 minutes | Garnish, chimichurri, soups | Dry well before chopping |
| Arugula | 3–5 minutes | Salads, topping pizza | Over-soaking can bruise |
Keep them crisp longer: simple storage changes that beat the “slimy bag” problem
Reviving greens is great, but preventing the limp-and-slimy cycle is even better. The tricky part is that greens need some humidity (so they don’t dry out), but not so much moisture that they rot. Your job is to balance those two.
The common failure mode: greens come in a plastic bag, you put the bag in the fridge, moisture builds up inside, and the leaves sit in dampness. That’s an invitation for sliminess.
The better approach: store greens in a container with a moisture buffer (paper towel or clean cloth). The towel absorbs excess condensation, while the container keeps the environment from becoming too dry.
- For salad greens (spinach, lettuce, mixes): Line a lidded container with a paper towel, add greens, place another paper towel on top, and close. Replace the towel if it gets damp.
- For herbs (cilantro, parsley): Trim the stem ends and store like a bouquet in a jar with a little water, loosely covered with a bag. Change the water every couple of days. Alternatively, wrap in a slightly damp paper towel and place in a container.
- For sturdy greens (kale, chard): They do well in a container or produce bag with a paper towel, but they’re less fussy than spinach.
If you’ve ever noticed that greens sometimes last longer in a restaurant-style clamshell than in the original bag, you’re seeing this balance in action. A rigid container reduces crushing (physical damage speeds decay), and paper towel manages condensation.
Don’t store greens next to ethylene-heavy produce if you can help it. Apples, bananas, avocados, and tomatoes release ethylene gas, which can encourage some produce to age faster. Your fridge isn’t a sealed lab, so don’t panic—but if your greens always seem to crash early, moving them away from the fruit drawer can help.
Small habit that pays off: Don’t wash greens until you’re ready to eat them—unless you’re going to dry them extremely well. Washing adds water; water clinging to leaves is what turns “fresh” into “slimy.” If you like washing everything up front, use a salad spinner and store the greens with dry paper towels.
If your tap water is genuinely cold, it often works fine. Ice water is more reliable because it stays cold the whole time, which helps leaves firm up and slows the “softening” that happens at warmer temperatures.
If your tap water is genuinely cold, it often works fine. Ice water is more reliable because it stays cold the whole time, which helps leaves firm up and slows the “softening” that happens at warmer temperatures.
Not really. Sliminess is usually a sign of breakdown and microbial growth. You can salvage a few intact leaves by picking them out and washing thoroughly, but if the majority is slimy or smells off, it’s time to toss it.
Not really. Sliminess is usually a sign of breakdown and microbial growth. You can salvage a few intact leaves by picking them out and washing thoroughly, but if the majority is slimy or smells off, it’s time to toss it.
Many fridges have colder spots near the back or near vents. If leafy greens partially freeze, their cell walls can rupture and they’ll go limp and watery when they thaw. Store greens in a slightly warmer area (often a crisper drawer) and avoid pressing them against the back wall.
Many fridges have colder spots near the back or near vents. If leafy greens partially freeze, their cell walls can rupture and they’ll go limp and watery when they thaw. Store greens in a slightly warmer area (often a crisper drawer) and avoid pressing them against the back wall.
A practical “weekday workflow” idea: If you buy a large tub of greens, split it into two containers right away. Keep one for the next 1–2 days and one for later. Each time you open a container, you introduce warmer air and moisture; splitting reduces how often the later batch gets disturbed.
Another small upgrade: If you routinely forget greens until they wilt, put them at eye level. Many people store greens in the bottom drawer and then wonder why they’re always throwing them away. The best storage system is the one you’ll actually see and use.