Why Your Smoke Alarm Keeps Chirping (Even After a New Battery)
That random chirp at 2 a.m. isn’t always “low battery.” Learn the real causes—dust, humidity, wrong battery type, wiring issues—and the fastest fixes.
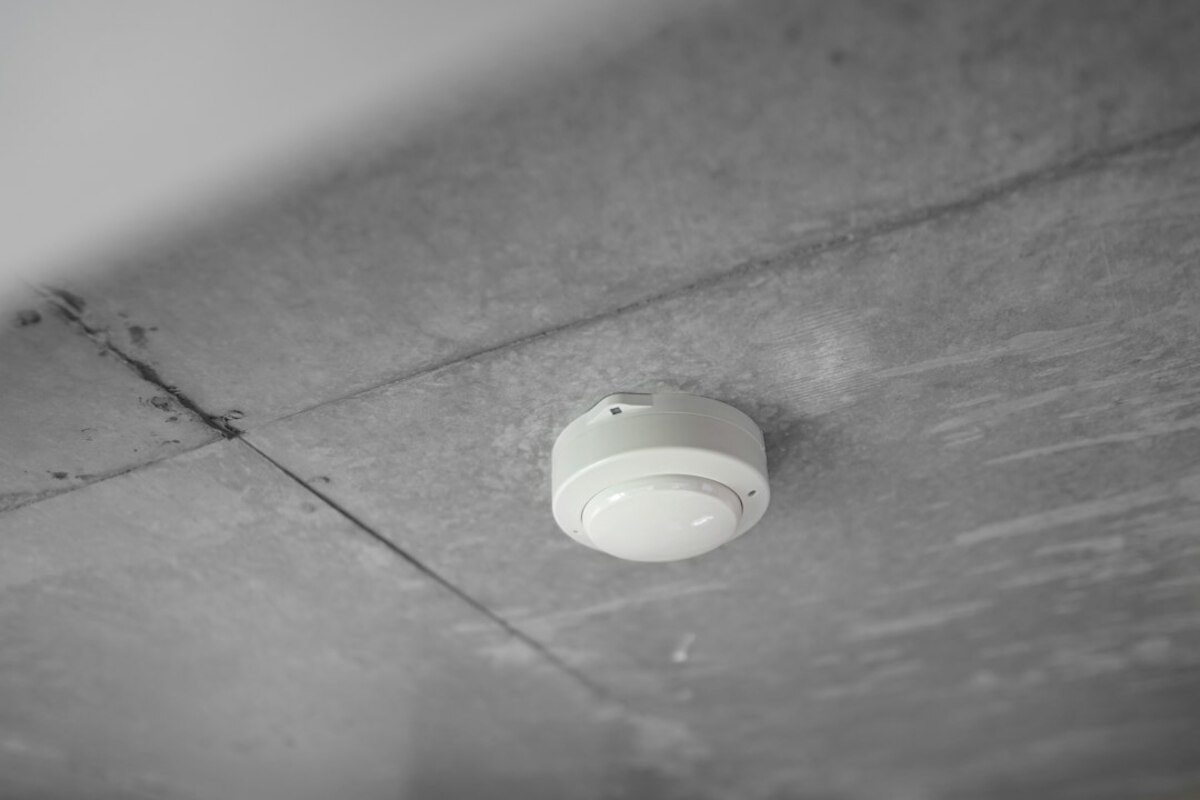
- Chirping often means “fault” or “end of life,” not just a low battery.
- Humidity, dust, and loose battery doors can trigger random beeps that sound like low power.
- You can usually pinpoint the culprit in minutes with a simple checklist—no tools beyond a vacuum and the right battery.
The chirp that drives everyone crazy: what it’s trying to tell you
It’s 2:17 a.m. and you hear it: chirp… silence… then another chirp. You replace the battery. It’s quiet for a day. Then it starts again. At that point it feels less like a safety device and more like a tiny, plastic roommate with opinions.
Here’s the key idea: smoke alarms and carbon monoxide (CO) alarms use different beep patterns to communicate different problems. The short, single chirp every 30–60 seconds is usually a “maintenance” alert (battery, sensor fault, end of life). A rapid, continuous alarm is the emergency sound. The frustrating part is that many maintenance problems sound similar—especially when you’re half-asleep and the sound is bouncing around your hallway.
Before you do anything else, do this quick reality check: walk to the alarm and look for a small label or printed text inside the battery door or on the back. Most models print a mini “beep code” guide right on the unit. If you can’t access it easily, you can still troubleshoot using the common causes below.

The most common reasons it keeps chirping (and the simple fixes)
Think of your alarm like a phone that’s trying to charge. If the cable is loose, the outlet is flaky, or the phone is overheating, it will act up even with a full battery. Smoke alarms behave the same way: power is only one piece of the puzzle.
- 1) It’s the wrong battery type (even if it’s “new”).
Many alarms are picky. Some require alkaline batteries and misbehave with rechargeable NiMH batteries because rechargeables provide a slightly different voltage curve. A rechargeable can be “full” but still read as “low” to a device designed around alkalines.
Fix: Use a brand-new, name-brand alkaline battery (often 9V or AA) and check the manual label for the required type. If the alarm calls for lithium, use lithium.
- 2) The battery drawer isn’t fully closed.
This is more common than people expect. The alarm may chirp if the battery door is not snapped shut or if the battery isn’t pressed firmly against the contacts.
Fix: Remove the battery, reinsert it firmly, and close the drawer until it clicks. Then press and hold the Test button for 10–15 seconds.
- 3) Residual charge needs to be drained (the “reset” step).
Some alarms store a little power even after you remove the battery. That leftover charge can keep the low-battery chirp “stuck,” like a frozen app on your phone.
Fix: Remove the battery. If it’s a hardwired model, switch off power to the alarm circuit at the breaker (only if you’re comfortable doing so). Hold the Test button for 15–30 seconds to drain the unit. Reconnect power and reinstall the battery.
- 4) Dust, lint, or tiny insects are messing with the sensor.
Smoke alarms work by detecting particles or changes in light inside a sensing chamber. Dust from renovations, pet dander, or even heavy lint near a laundry area can trigger faults and chirps. In some climates, tiny insects can crawl inside and set off sensor errors.
Fix: Vacuum the alarm gently using a soft brush attachment. If the cover design allows it, vacuum the vents around the edge. Avoid blasting compressed air directly into the chamber unless the manufacturer recommends it—some models can be damaged by moisture propellant or forced debris.
- 5) Humidity or steam is confusing it.
If the alarm is near a bathroom, kitchen, or a humidifier, steam can enter the chamber and cause false alarms or intermittent chirps—especially during showers, boiling water, or when a humidifier runs at night. It’s like trying to use a phone with a foggy camera lens: the sensor can’t “see” clearly.
Fix: Run the bathroom fan longer, crack a window during steamy showers, and keep humidifiers several feet away from alarms. If the alarm is installed too close to a bathroom door or above a stove, relocating it to the recommended distance may solve the issue.
- 6) It’s reached “end of life” (the big one people miss).
Most smoke alarms are designed to be replaced after 10 years (some CO alarms are 5–7 years). Sensors degrade over time. Many units will chirp every 30–60 seconds or display a light pattern when they’ve expired—even with a fresh battery.
Fix: Find the manufacture date on the back (or inside the battery compartment). If it’s around 10 years old, replacement is the correct fix. This is not a “try another battery” situation—it’s the device telling you it can’t reliably protect you anymore.
- 7) It’s not the alarm you think it is.
In many homes, the chirp echoes and feels like it’s coming from the hallway when it’s actually the guest room, the basement stairwell, or even a CO alarm plugged into an outlet.
Fix: Stand under each device and listen closely. If you have multiple alarms interconnected, one unit can trigger chirps while others flash. Look for a blinking LED—many alarms flash a code that corresponds to the problem.
If you want a fast way to narrow it down, use this quick cheat sheet:
| What you notice | Most likely cause | Fastest fix to try |
|---|---|---|
| Single chirp every 30–60 sec after new battery | Wrong battery type, incomplete reset, end-of-life | Install fresh alkaline, then hold Test 15–30 sec; check manufacture date |
| Chirps start after shower/cooking | Steam/humidity interference | Ventilate; move humidifier; consider relocating alarm farther away |
| Chirps begin after cleaning/renovation | Dust in sensing chamber | Vacuum vents and around unit; wipe exterior |
| Unit is 8–12 years old | Sensor aging/end-of-life warning | Replace the alarm (check exact life rating on label) |
| Hardwired alarm chirps even with good battery backup | Loose wiring harness, power fluctuation, failing unit | Reseat connector (power off at breaker); if persistent, replace unit |
A practical, no-drama troubleshooting walk-through (10 minutes)
Imagine you’re doing this on a Saturday morning (not at 2 a.m.) with good light and a calm brain. This order avoids wasted effort and catches the most common problems first.
- Identify the device.
Is it smoke, carbon monoxide, or a combo unit? CO alarms often have different end-of-life timelines and different beep patterns. If you have a plug-in CO alarm, check it too.
- Check the date.
Look for “Replace by” or a manufacture date. If it’s around the end-of-life window, replacing the unit is usually the real fix.
- Replace with the correct battery.
Use a fresh alkaline (or the type specified) and clean the contacts if they look dull. Make sure the battery snaps firmly into place.
- Do the reset step.
Remove battery → hold Test 15–30 seconds → reinstall. If hardwired and you’re comfortable, cut power at the breaker first, then restore.
- Clean it.
Vacuum the vents gently. If the unit is near a supply vent, fan, or dusty area, cleaning can make a surprisingly big difference.
- Watch the LED.
Many alarms flash patterns: for example, one flash every minute can indicate normal operation; different colors or rapid flashes may indicate a fault or end-of-life. The label on the unit often explains the pattern.
- If it’s hardwired, check the connection.
If you’re replacing the unit anyway, you’ll see a small wiring harness plug. A loose connector can cause intermittent chirps. Turn off power at the breaker before touching wiring.
A quick real-life scenario: a family replaces batteries in three hallway alarms, but the chirp returns. They assume “bad batteries.” The real culprit is the fourth alarm in a guest room that’s 11 years old and chirping end-of-life. Because sound travels down the hall, it seemed like the hallway unit. Once they replaced the expired guest-room alarm, the house finally went quiet.
Only as a short, controlled step while troubleshooting. If the alarm is chirping because it’s expired or faulty, the safest move is to replace it promptly. Leaving an area unprotected—especially bedrooms and hallways—removes an important layer of safety.
Only as a short, controlled step while troubleshooting. If the alarm is chirping because it’s expired or faulty, the safest move is to replace it promptly. Leaving an area unprotected—especially bedrooms and hallways—removes an important layer of safety.
Battery voltage can dip slightly in cooler temperatures, and homes often cool down overnight. If a battery is near the low threshold (or the alarm is sensitive to voltage), that dip can trigger a chirp. It’s also simply more noticeable when everything else is quiet.
Battery voltage can dip slightly in cooler temperatures, and homes often cool down overnight. If a battery is near the low threshold (or the alarm is sensitive to voltage), that dip can trigger a chirp. It’s also simply more noticeable when everything else is quiet.
It’s often a second device. Homes with multiple alarms can have one hidden in a basement, garage entry, or hallway outside bedrooms. Walk room to room and listen under each alarm. If you have interconnected hardwired alarms, one failing unit can create confusing signals across the system.
It’s often a second device. Homes with multiple alarms can have one hidden in a basement, garage entry, or hallway outside bedrooms. Walk room to room and listen under each alarm. If you have interconnected hardwired alarms, one failing unit can create confusing signals across the system.
If the chirping persists after a correct battery, a reset, and a cleaning—and the unit isn’t clearly expired—treat it like a warning that the device may be unreliable. In everyday terms: if your seatbelt alarm kept malfunctioning after you fixed the obvious things, you wouldn’t keep driving and hope for the best. Replacing a questionable alarm is usually inexpensive and removes a lot of uncertainty (and a lot of nighttime stress).