E-SIM for Travel: How to Get Data Abroad Without Swapping a SIM Card
Tired of airport SIM kiosks and surprise roaming fees? Learn how eSIMs work, when they’re worth it, and how to set one up in minutes.
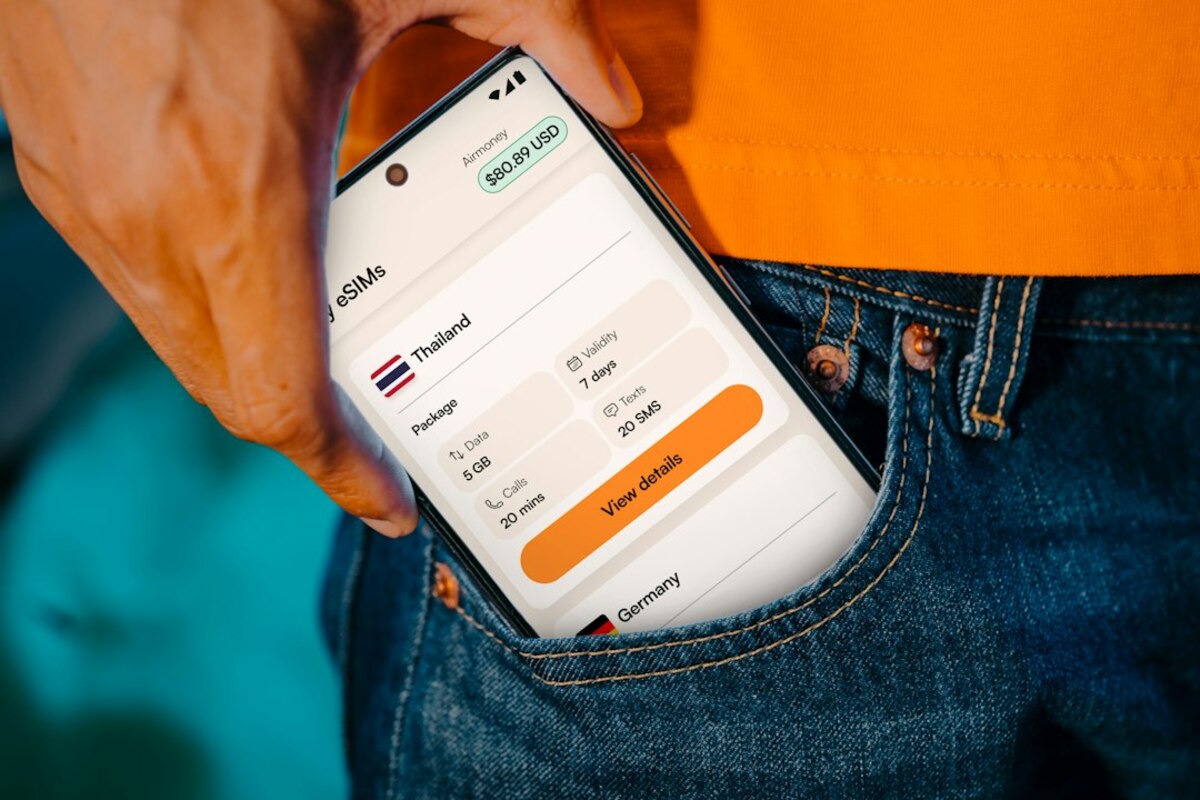
- An eSIM is a digital SIM you can install in minutes—often before you even land.
- The best plan depends on your trip style: single-country, regional, or global data packs.
- Most problems come from one of three things: phone not unlocked, wrong settings, or confusing plan activation.
What an eSIM is (and why travelers suddenly care)
An eSIM is a digital version of the tiny plastic SIM card you used to pop into your phone. Instead of inserting anything, you add a “SIM profile” to your phone by scanning a QR code or tapping an install link. Your phone then connects to a mobile network abroad—usually through a travel eSIM provider or, sometimes, a local carrier.
If the word “SIM” makes you think of standing in an airport line with your suitcase, that’s exactly why eSIMs have become a travel hot topic. For many people, getting data abroad used to mean choosing between two annoying options:
- Pay roaming and hope your bill doesn’t look like a small mortgage.
- Buy a local SIM and deal with finding a shop, showing ID (in some countries), and swapping your main number out.
With an eSIM, you can often land, turn on “Cellular Data,” and you’re online. Think of it like downloading a temporary travel pass for your phone—no kiosk, no paperclip to open the SIM tray, no losing your home SIM in a hotel room.
It’s also easy to understand if you use a simple analogy: your phone has a “slot” for identifying you to a network. A plastic SIM is a physical key. An eSIM is a digital key you can install and remove without touching hardware.

When an eSIM is the best choice (and when it’s not)
eSIMs are great, but they’re not magic for every trip. The best approach depends on what you actually need: data, calls, texts, or just a reliable connection for maps and messaging apps.
eSIMs are usually a great fit if you:
- Want data fast (ride-hailing, maps, translation, messaging) the moment you arrive.
- Are visiting multiple countries and don’t want to buy a new SIM every time you cross a border.
- Need to keep your home SIM active for bank codes, work calls, or iMessage/WhatsApp tied to your number.
- Prefer predictable costs (a fixed data package beats “roaming roulette”).
eSIMs might not be ideal if you:
- Need lots of traditional voice calls and SMS to local numbers (some travel eSIMs are data-only).
- Are staying long-term (a local carrier plan may be cheaper for months of use).
- Have an older or carrier-locked phone (compatibility and unlocking matter).
Here’s a quick way to decide: if your “must-have” abroad is data (for everyday apps), an eSIM is often the simplest solution. If your “must-have” is a local phone number for calls, deliveries, or local services, you may want a local SIM or an eSIM plan that includes calling.
| Travel need | eSIM works well | Consider alternatives |
|---|---|---|
| Maps, WhatsApp/Signal, email, ride apps | Yes—data-only is usually enough | Roaming only if your carrier offers a cheap daily pass |
| Keeping your home number active | Yes—use dual SIM (home SIM + travel eSIM) | Local physical SIM can replace your home SIM if you don’t need it |
| Calling local businesses, receiving SMS locally | Sometimes—depends on plan (many are data-only) | Local carrier plan often easier for voice/SMS |
| Multi-country trip | Yes—regional eSIM plans are designed for this | Buying SIMs in each country can be cheaper but takes time |
A realistic scenario: You’re flying to Spain for a week, then hopping to Portugal for three days. With a physical SIM, you might buy one in Spain, then repeat in Portugal. With a regional eSIM, you install once and keep moving.
How to set up a travel eSIM step by step (without getting tripped up)
The setup is usually simple, but travelers run into the same few issues again and again. Below is a practical, no-drama walkthrough you can follow at home before you travel.
Step 1: Check if your phone supports eSIM
Most newer phones do, but not all models in every region. Look for eSIM support in your phone’s cellular settings. If you see options like “Add eSIM,” “Add Cellular Plan,” or “Add Mobile Plan,” you’re likely good.
Tip: Don’t assume “new phone = eSIM.” Some budget models skip it, and some versions sold in certain markets differ.
Step 2: Make sure your phone is unlocked
This is the most common “why doesn’t it work?” moment. If your phone is locked to your home carrier, it may refuse to connect to other networks—physical SIM or eSIM.
- If you bought your phone through a carrier payment plan, check lock status in your account or ask support.
- If you bought it unlocked (direct from manufacturer), you’re usually fine.
Step 3: Choose the right plan style (single country vs regional vs global)
When browsing eSIM plans, you’ll typically see:
- Single-country plans: Best value if you’re staying put.
- Regional plans: Useful for multi-country routes (e.g., “Europe,” “Southeast Asia”).
- Global plans: Convenient for frequent flyers, usually pricier per GB.
Also check whether it’s data-only or includes calling. For many travelers, data-only is enough because WhatsApp, FaceTime, and Zoom cover most communication.
Step 4: Install the eSIM before you leave (usually best)
Many plans let you install the eSIM ahead of time and only “activate” once you connect in the destination. Installing at home means you’re not trying to scan a QR code on shaky airport Wi‑Fi while juggling bags.
Typical install methods:
- QR code: The provider emails a QR code; you scan it in your cellular settings.
- In-app install: Some providers guide you through an app-based setup.
- Manual details: You copy/paste SM-DP+ address and activation code (less common, but useful if QR scanning fails).
Small but important detail: If the QR code is on the same phone you’re trying to install the eSIM on, you can’t scan your own screen with your own camera. In that case, open the QR code on a laptop/tablet, or use the provider’s in-app method.
Step 5: Name your lines so you don’t confuse them
Most phones let you label each SIM. Do it. Example labels:
- “Home” (your regular carrier)
- “Travel Data” (the eSIM)
This makes it obvious which line is used for data, calls, and messages.
Step 6: Set your default data line and keep your home number for calls (optional)
Many travelers want this exact combo:
- Data: Travel eSIM
- Calls/SMS: Home SIM (or keep it active for bank verification texts)
If you do this, also consider turning off data roaming on your home line so it doesn’t quietly start using roaming data the moment you land.
Step 7: Activation timing—watch for the “starts now” rule
Plans vary: some start counting days immediately after purchase, some after installation, and others only once the eSIM connects to a supported network in your destination.
This matters more than people expect. If a plan is “7 days” and it starts at purchase, buying it a week early means you arrive with an expired plan. Always check the provider’s activation policy.
Usually yes. WhatsApp is tied to your phone number, but it uses data to send messages. If you keep your home SIM active (even without roaming data), WhatsApp typically continues normally on the same number while your travel eSIM supplies the data connection.
Usually yes. WhatsApp is tied to your phone number, but it uses data to send messages. If you keep your home SIM active (even without roaming data), WhatsApp typically continues normally on the same number while your travel eSIM supplies the data connection.
If your phone supports dual SIM (physical + eSIM, or eSIM + eSIM), you can keep both. Many travelers use the home SIM for calls/texts and the eSIM for data. Your settings decide which line does what.
If your phone supports dual SIM (physical + eSIM, or eSIM + eSIM), you can keep both. Many travelers use the home SIM for calls/texts and the eSIM for data. Your settings decide which line does what.
This is often a settings issue. Check that the eSIM is set as your data line, mobile data is turned on, and the plan is actually active. If the provider uses a specific APN, ensure it’s set correctly. A quick airplane-mode toggle or phone restart can also force a clean network reconnect.
This is often a settings issue. Check that the eSIM is set as your data line, mobile data is turned on, and the plan is actually active. If the provider uses a specific APN, ensure it’s set correctly. A quick airplane-mode toggle or phone restart can also force a clean network reconnect.
Common “oops” moments (and quick fixes)
- “I installed it, but it won’t connect abroad.” Confirm the plan covers that country, your phone is unlocked, and the eSIM line is turned on.
- “I’m afraid I’ll lose my main number.” Installing an eSIM doesn’t delete your home SIM; it just adds another line. Label them clearly.
- “My data is still coming from my home carrier.” Set the travel eSIM as the default data line and disable data roaming on your home line.
- “The QR code won’t scan.” Increase screen brightness, avoid glare, or use manual entry / in-app install.
A small planning trick that saves real money: Estimate your data needs based on your habits. If you mostly use maps, messaging, and light browsing, you may need far less data than you think. But if you plan to upload videos, hotspot your laptop for work, or stream shows nightly, choose a bigger plan—or confirm whether topping up is easy.
Real-life example: Imagine you’re on a work trip and need to join a video call from your hotel, then navigate to a meeting across town. With an eSIM installed before departure, you’re not hunting for a SIM shop, not depending on hotel Wi‑Fi, and not stressing about whether “roaming is on.” You just open your laptop, hotspot your phone (if your plan allows it), and join the call.
One more practical note: Keep a screenshot or offline copy of your eSIM QR code and purchase details somewhere safe (or in your email with offline access). If you ever need to reinstall, you’ll be glad you can find it without a working connection.